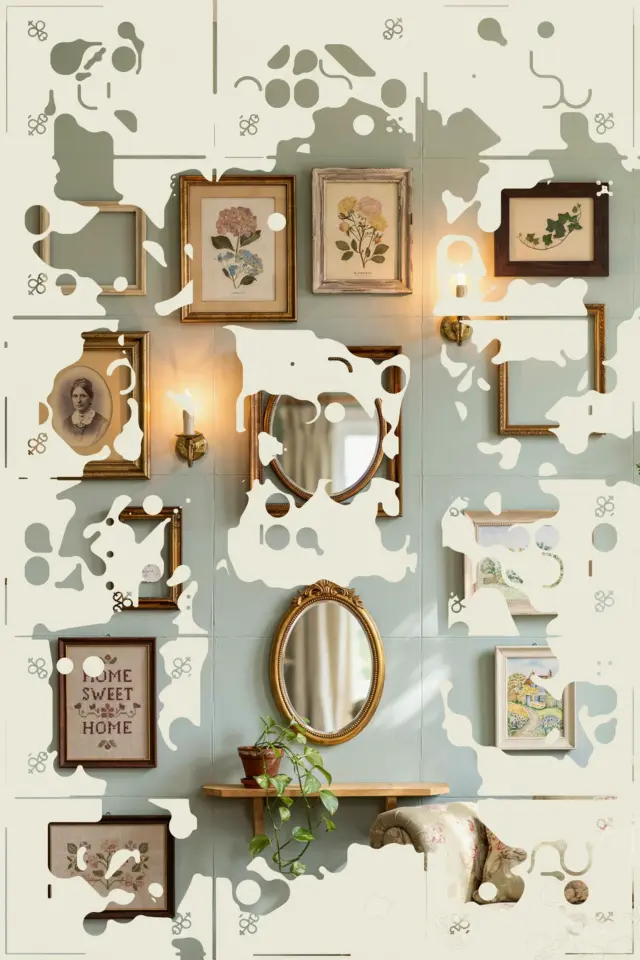
Staring at a large empty wall in your living room can feel both freeing and frustrating. You want something personal and curated but your budget does not stretch to pricey art or professional installations. That is where clever Blank Wall Solutions come in, turning that bare canvas into a meaningful gallery wall without breaking the bank. With a mix of thrifted frames, botanical prints, and your own photos, you can create a living room focal point that feels intentional and warm, not cluttered or random.
Why a gallery wall works for small budgets
A single large piece of original art can cost hundreds of dollars. A gallery wall, on the other hand, lets you use small, inexpensive items that together have more impact. You can mix family snapshots with free printable botanicals or pages from old books. The key is cohesion, not cost. By using matching frames or a consistent color palette, every piece looks like it belongs together, even if each item cost under five dollars.
Start with a theme. Maybe you love vintage botanical illustrations, or maybe you prefer black and white photography. Pick one thread and stick to it. This simple rule stops the wall from feeling chaotic and makes the whole arrangement look polished on a dime.
Thrifted frames: your best friend for a curated look
Secondhand stores and flea markets are gold mines for frames. Look for solid wood or metal frames with clean lines. Even if the finish is scratched, a coat of spray paint in a unified color (matte black, brass, or white) makes them look brand new. Mixing frame styles is fine, but keeping the color consistent creates visual harmony.
I once found five identical brass frames at a garage sale for two dollars each. A quick polish and they looked like they came from a high end store. Inside, I placed pressed leaves from my backyard. Total cost: under fifteen dollars for a stunning six piece arrangement.
- Visit thrift stores on weekdays for better selection
- Look for frames with glass intact (it costs more to replace)
- Spray paint frames all at once for a uniform finish
- Use mat boards from dollar stores to add depth
Botanical prints and free printables: instant content on the cheap
You do not need to buy expensive art. Thousands of high resolution botanical prints, vintage maps, and abstract designs are available for free online. Print them at a local copy shop on matte paper for a fraction of the cost of a poster. Trim them to standard frame sizes. I personally love using old gardening books because the pages have a natural aged tone that works well with warm wood frames.
Another trick: press real leaves or flowers between glass. It takes a few days but costs nothing. These simple botanical elements bring texture and life to a wall without the price tag of real artwork.
Personal photos: making the wall truly yours
Your own photographs add a personal layer no store bought print can match. But instead of printing five by sevens and calling it done, think about editing them together. Convert all photos to black and white for a classic, cohesive feel. Or stick with a single color tone, like warm sepia, across all images. This small step makes a random collection of family moments look like a deliberate art installation.
Use a mix of portrait and landscape orientations to fill the space. I recommend picking three to five favorite shots and printing them at a lab that offers budget friendly matte prints. Then pair them with your thrifted frames. The result feels authentic and avoids the generic look of mass produced decor.
Layout planning without the nail holes
One of the biggest fears about gallery walls is making mistakes with nail placement. Avoid this by laying the arrangement on the floor first. Arrange your frames, prints, and photos on a large piece of kraft paper or cardboard. Trace each piece. Then tape the paper shapes to the wall. This method lets you move things around until the spacing feels right, without leaving a single unwanted hole.
For a balanced look, keep two to three inches of space between each piece. But do not stress over perfection. A slightly organic layout often feels more relaxed and lived in than a rigid grid. Trust your eye. If it looks good on the floor, it will look good on the wall.
Adding texture with non paper elements
To make your DIY art display feel richer, mix in a few three dimensional objects. A small woven basket, a ceramic plate, or a dried eucalyptus branch can break up the flat surfaces and add depth. I once hung a vintage macrame piece in the center of a photo cluster. It softened all the straight edges and added a bohemian touch that tied the whole look together.
These objects do not have to cost much. Look for small wall mounted shelves at thrift stores. They let you display a tiny plant or a porcelain trinket alongside your framed prints. This layered approach is one of the most effective Blank Wall Solutions because it makes the wall feel dimensional and curated, not flat or one note.
Lighting your gallery wall
Even the best arrangement can fall flat without proper light. A simple picture light above the main cluster costs less than thirty dollars and instantly elevates the look. If you prefer a softer glow, use a small adjustable lamp on a nearby side table aimed toward the wall. The shadows add drama and make the frames stand out.
Battery operated stick on lights also work well inside larger frames. Place one behind the mat board to backlight a botanical print or a photo. It creates a subtle glow that draws the eye and makes the piece feel museum quality, all for a few dollars.
Making it last: rotate pieces seasonally
A gallery wall does not have to be permanent. One of the best parts of a DIY approach is that you can swap out prints and photos as your tastes change. Keep a stash of extra frames with different contents ready. When the seasons shift, or when you find a new thrifted treasure, swap one piece out. This keeps your living room feeling fresh without requiring a full redesign.
I change my own gallery wall twice a year. In spring, I add pressed flowers and light watercolors. In fall, darker wood frames and vintage maps take over. The base layout stays the same, but the mood shifts.
#BlankWallSolutions #GalleryWallDesigns #DIYArtDisplay #LivingRoomDecor #WallDecorIdeas
Leave a Comment