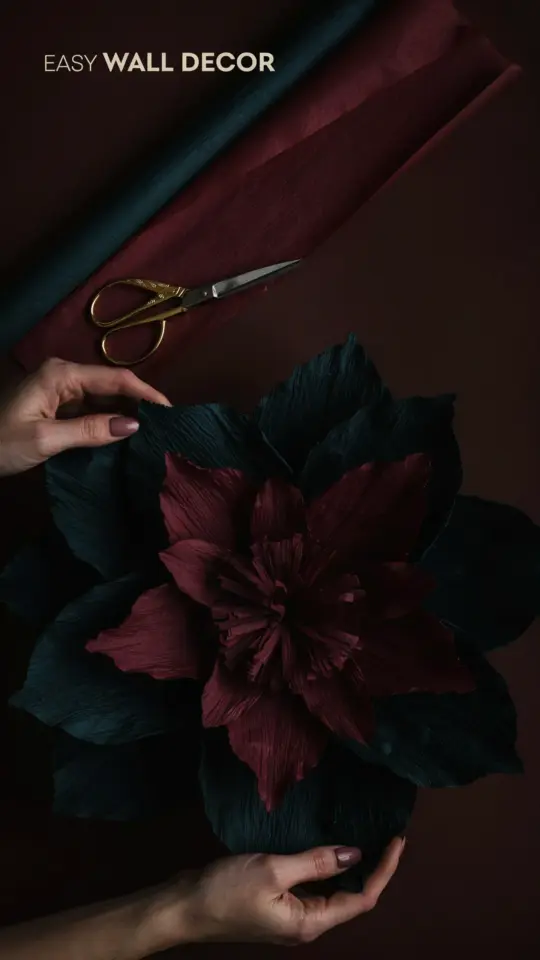
My First Giant Paper Flower Wall Was a Flop (Here is What I Learned)
I will never forget the day I tried to make my first DIY giant paper flower wall decor. I had watched a dozen Pinterest videos, bought all the supplies, and then spent an entire Saturday wrestling with crepe paper that kept tearing, petals that looked more like lumpy potatoes than roses, and a final backdrop that sagged sadly against the wall. It was a mess. But that failure taught me exactly what not to do. I have made that mistake so you do not have to. This is a real, honest guide to building a 40cm giant paper flower backdrop without the frustration, perfect for absolute beginners who want something that actually looks good.
Getting the Right Crepe Paper for a Clean Paperflowerwall Finish
The biggest mistake I made was grabbing the thin, shiny crepe paper from a discount store. It tore the second I stretched it. For a paperflowerwall that holds its shape, you need heavy weight crepe paper, often called Italian crepe or extra fine crepe. This stuff has serious stretch and memory. It stays curled when you stretch it. Cheap party streamer paper will just flop.
Stick with 180 gram or heavier crepe. You can find it at craft stores or online. If you are on a budget, look for “double weight” crepe. It costs a little more but saves you from having to redo half your flowers later. Trust me, I learned that the hard way.
Choosing a Template Size That Actually Makes Giantflowers Look Proportional
If you google “giant paper flower template” you will get everything from 10cm to 60cm petals. My first attempt used a tiny template for a “large” flower and the result looked like a sad carnation. For a true giantflowers backdrop that makes a statement, aim for petals that are around 20cm to 25cm long for a finished flower diameter of 35cm to 40cm. That is big enough to be dramatic but small enough that you can finish a whole wall without burning out.
Here is a quick guideline: Cut five large petals, four medium petals, and one small center cluster per flower. That mix gives you depth. I like to draw my own templates on cardboard first. Trace around a dinner plate for the large ones and a cereal bowl for the smaller ones. Simple and it works every time.
Common Cutting Mistakes That Ruin Diypaperflowers (and How to Fix Them)
Cutting crepe paper is not like cutting printer paper. The grain runs a certain way. If you cut across the grain, the petal will not stretch properly and will tear easily. Always cut so the stretch goes across the width of the petal, not along its length. That is the number one tip for successful diypaperflowers.
- Mistake: Using dull scissors. Dull blades crush the fibers and cause jagged edges. Use sharp scissors or a rotary cutter.
- Mistake: Not stacking enough layers. Cut four to six layers at once to save time. Just pin the paper stack down so it does not shift.
- Mistake: Skipping the “ruffle” step. After cutting, gently stretch the top edge of each petal between your thumbs to create a natural wavy curl. This makes the flower look real instead of flat.
- Mistake: Cutting petals too identical. Nature is imperfect. Vary the width and shape slightly for a more organic look.
Assembling Petals Without Gaps or Lumpy Centers for Paperflowerdecor
I used to glue petals straight onto a flat circle base and wondered why my flowers looked like weird starfish. The trick is to layer them in a cone shape. Start with a small paper cone in the center (about 5cm tall). Wrap the smallest petals around it, then add the medium layer, and finally the large ones. Overlap each petal by about half its width. This hides the glue and gives that lush, full look you see all over Instagram.
For your paperflowerdecor to last, hot glue is your friend. But do not use a ton. A thin bead along the bottom edge of each petal is enough. If you use too much glue, it dri
#diypaperflowers #paperflowerwall #crepepaperflowers #giantflowers #paperflowerdecor
Leave a Comment