Have you ever walked into a room and felt like the walls were just kind of there? That is exactly how I felt about my boring hallway until I stumbled on a simple fix that cost me less than ten dollars. This DIY photo frame wall art project is the kind of thing you can put together in a single afternoon using thrifted frames and a few sheets of scrapbook paper. No fancy tools, no prior crafting experience, just a little patience and a willingness to try something new. What I love most is how personal it feels. Instead of buying a generic print from a big box store, you get to choose every color and pattern, making something that actually fits your space and your taste. If you have been looking for a budget decor idea that looks like it took way more effort than it really did, this one is for you.
Why Thrifted Frames Are a Beginner’s Best Friend
When you walk into a thrift store, the frame section can feel overwhelming. You see gold ones, wood ones, plastic ones, some chipped, some perfectly fine. For this project, you want frames that are structurally sound. Give the corners a gentle squeeze. If they wobble or the backing is missing, move on. I usually grab a mix of sizes and shapes to keep the final gallery wall interesting. A standard 8×10 inch frame works well for the center piece, while smaller square frames (like 4×4 or 5×5) make great accent spots.
Do not worry about the color of the frame itself. You can paint over anything with a cheap can of spray paint. Black, white, or a muted pastel are safe bets that will not clash with your scrapbook paper later. One real trick I learned the hard way: always check if the glass is scratched on the front side. Scratched glass is hard to fix, so just pick a different frame. Most thrift stores sell frames for a dollar or two, which makes this whole project almost free if you already have some paper and glue.
- Check for stability: Gently squeeze the corners to avoid wobbly frames.
- Look past ugly colors: Paint or metallic spray can transform any frame.
- Mix sizes: Grab an 8×10, a 5×7, and a couple of square options.
- Inspect the glass: Hold it up to the light to see if there are deep scratches.
- Budget limit: Aim to spend no more than five dollars total on frames.
Choosing Scrapbook Paper That Makes Your Wall Art Pop
Scrapbook paper is the real star of this DIY photo frame wall art project. You can find it at any craft store, usually sold in packs of twelve or sold individually for around a dollar per sheet. The trick is to pick patterns that work together without being too matchy-matchy. I like to choose one bold pattern (like a geometric print or a floral), one subtle texture (like a linen look or a soft stripe), and one solid color that appears in both of those patterns.
For example, I once used a navy blue geometric sheet for the largest frame, a pale pink marble pattern for a medium size, and a plain cream paper for a small square frame. That combination felt cohesive but not boring. Do not be afraid to mix in a sheet that has a tiny gold foil detail, it adds a little shimmer without being overwhelming. If you are unsure, hold the papers side by side in natural light before buying. And always buy one extra sheet than you think you need. Mistakes happen, and having a backup saves you a trip back to the store.
Step by Step: How to Assemble Your DIY Photo Frame
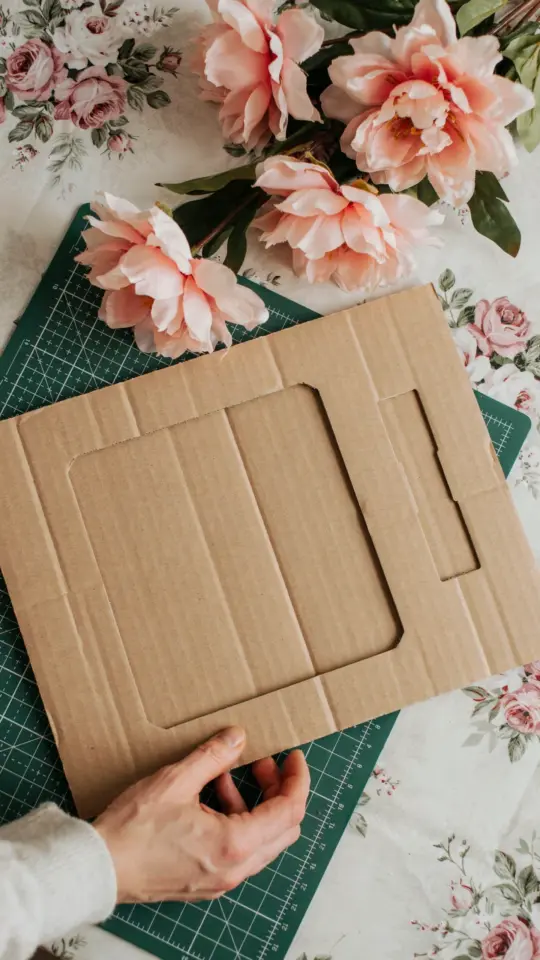
Okay, now let us get into the actual making part. You will need your frames, the scrapbook paper, a ruler, a pencil, scissors or a craft knife, and some strong double-sided tape or a glue stick. First, remove the back of the frame and take out the glass. Set the glass aside somewhere safe. Then measure the dimensions of the cardboard or foam board that sits inside the frame. That board is your cutting guide.
Lay your scrapbook paper face down on a clean surface. Place the cardboard board on top of the paper. Trace around it lightly with a pencil. Cut just inside the pencil line so the paper fits snugly inside the frame without buckling. If you use a craft knife and a ruler, you will get a much cleaner edge than scissors. Once the paper is cut, apply double-sided tape to the back of the cardboard board and press the paper onto it firmly. Smooth out any air bubbles from the center outward. Then put the board back into the frame, add the glass on top, and close the backing. That is one piece done.
Arranging Your Gallery Wall Like a Pro (Even if You Have Zero Design Sense)
Now you have three or four finished frames and you need to put them on the wall. Do not just start hammering nails. Lay the frames on the floor first and play with the arrangement. I start with the largest frame slightly off-center and then cluster the smaller ones around it. Keep a gap of about two to three inches between each frame. You can also use painter’s tape to outline the shape on the wall to see how it will look before you commit to holes.
Something that really helps is
#diyphotoframe #wallart #budgetdecor #easycraft #homemadeprojects
Leave a Comment