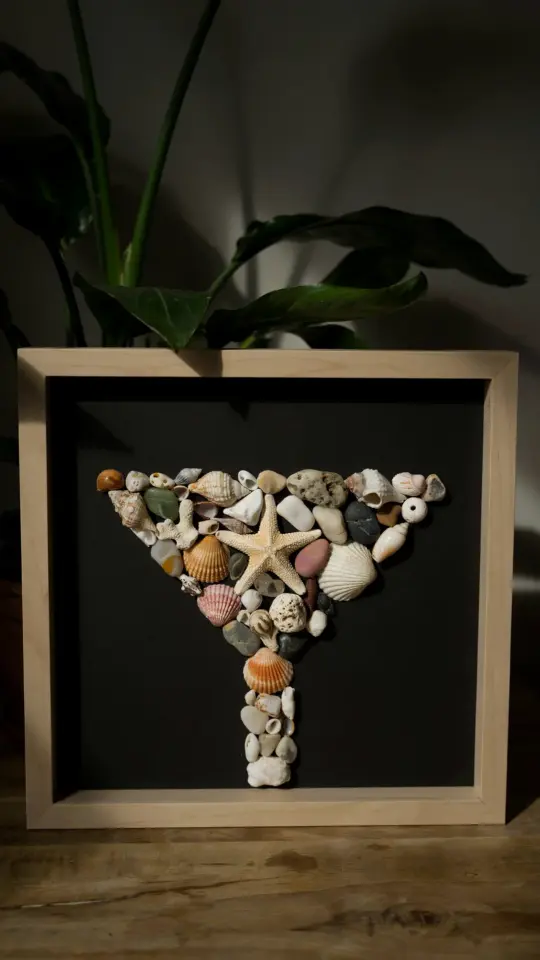
If your walls are craving a touch of coastal charm without the hefty price tag of store‑bought art, a DIY whale tail wall art piece might be exactly what you need. The shape is instantly recognizable, the materials are simple, and the process leaves plenty of room for your own creative spin. Whether you are decorating a beach‑house bedroom or a landlocked living room that longs for the sea, this project delivers a clean, modern silhouette that feels fresh and intentional. And because the whole thing starts with plywood and paint, you can keep the budget tight and the satisfaction high.
Selecting the Right Plywood and Basic Tools
The success of your whale tail wall art begins with the wood. I recommend a 1/2‑inch birch plywood for most projects because it is sturdy enough to hold its shape yet light enough to mount with a single nail. If you prefer a heavier, more substantial feel, 3/4‑inch works well too. Avoid pine plywood with large knots; those can crack or warp over time.
Here is a quick list of what you will need:
- 1/2‑inch or 3/4‑inch birch plywood (a 2×2 foot piece is plenty for one tail)
- A jigsaw with a fine‑tooth blade for clean curves
- Sandpaper in 120‑ and 220‑grit
- Painter’s tape and a drop cloth
- Acrylic craft paint or water‑based wood stain
- A soft brush or sponge for blending
If you do not own a jigsaw, most hardware stores will cut your plywood board for a small fee. Just bring a printed template or a sketch of the whale tail outline. That one step saves you time and eliminates the most intimidating part of the project.
Finding and Using a Whale Tail Stencil Pattern
You can freehand a whale tail shape, but a stencil pattern gives you a clean starting point and ensures symmetry. Look for “whale tail stencil pattern” online and print a size that fits your plywood. I trace the outline using carbon paper, then go over the lines with a pencil. If you want a more organic shape, sketch the tail freehand using a reference photo of a humpback whale. The key is to keep the flukes (the two lobes) roughly equal in size and the notch in the middle shallow.
After cutting, sand the edges thoroughly. A rounded edge gives the piece a softer, more professional look. I use 120‑grit first to remove saw marks, then finish with 220‑grit for a smooth surface. Wipe away dust with a damp cloth before painting.
One practical tip: cut slightly outside the drawn line, then sand down to the exact line. This prevents the jigsaw from chewing up your printed pattern and leaves a crisp edge.
Hand‑Painted Ocean Gradients for a Watercolor Effect
Plain paint is fine, but an ocean gradient paint technique turns a simple plywood shape into a piece of art. I start with a base coat of soft seafoam green. While it is still wet, I dab on a few streaks of deep teal and a touch of white, then blend with a dry brush. The result is a subtle shift in color that mimics light moving through water.
For a more controlled approach, apply three horizontal bands of paint: pale blue at the top, a medium ocean blue in the middle, and a darker navy at the bottom. Let each layer dry slightly, then use a clean brush to soften the lines where the colors meet. This works especially well if you hang the tail vertically, with the wider flukes at the bottom.
If you prefer a matte finish, use chalk paint or add a matte topcoat. Shiny finishes tend to show brushstrokes more, and they can reflect light in a way that distracts from the shape.
Adding Texture with Wood Burning or Resin Accents
Once the base paint is dry, you can take the piece in a different direction. Mixed media whale tail decor often combines wood burning or resin to add depth. If you have a wood burner, outline the tail shape and draw small lines that mimic the ridges on a real whale’s tail. The dark burn marks contrast nicely with a light blue or white background.
Resin is another option. Pour a thin layer of clear epoxy over a painted tail and let it cure. This gives a glossy, almost liquid appearance that makes the colors pop. It is especially effective if you have used a gradient or metallic paint underneath. Just work in a well‑ventilated area and follow the resin’s
#DIYWallArt #WhaleTailArt #OceanDecor #CoastalCrafts #BudgetDIY
Leave a Comment