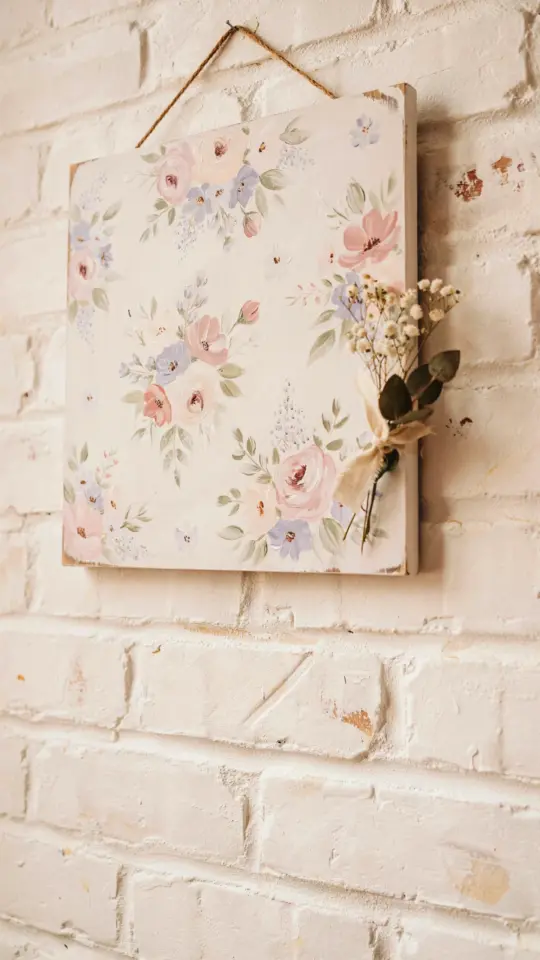
If you are looking for easy DIY wall art to fill those empty spaces without spending a fortune, you are in the right place. I have painted a lot of my own apartment walls over the years, mostly because I was too broke to buy real art and too stubborn to leave them blank. The good news is that interior painting projects for beginners are actually easier than most people think. All you need is a little patience, some basic supplies, and a willingness to mess up the first try (I have done that plenty of times).
This guide is for anyone who wants custom wall decor without expensive tools or a lot of skill. I will walk you through three simple approaches: abstract designs, geometric patterns, and ombre effects. Each one uses just paint and tape, and you can finish most projects in a weekend. No prior painting experience required.
Choosing the Right Paint and Tools for Your Budget
Before you start any painting ideas, get your supplies sorted. The biggest mistake beginners make is buying the wrong paint or skipping the prep. You do not need fancy art supplies. A quart of interior latex paint from the hardware store is more than enough for a single piece of wall art. Sample pots are even cheaper and come in small sizes perfect for one project.
- Paint: Flat or matte finish works best for wall art. Satin or gloss can show brush strokes too easily.
- Brushes: Buy a cheap pack of foam brushes and a 1-inch angled brush for edges. Foam brushes cost about a dollar each and give a smooth finish.
- Tape: Blue painter’s tape (the kind for delicate surfaces) is non-negotiable. Regular masking tape can peel off fresh paint.
- Drop cloth: An old bedsheet or a roll of plastic works fine. Cardboard also works if you are working on a small piece.
If you want to save even more, check the clearance section at hardware stores for mistinted paint. I have grabbed gallons for under five dollars. The color might be weird, but you can mix it with white to create custom shades.
Abstract Painting Ideas for Beginners That Look Intentional
Abstract art is the easiest way to fake confidence when you are just starting out. The trick is to plan your colors in advance so you do not end up with a muddy mess. Pick two or three colors that you already have in your room. That way your DIY wall art will match your existing decor without needing a total room restyle.
Start by painting your whole canvas or wall panel one solid base color. Let it dry completely. Then load a foam brush with a second color and dab it on in random spots. Do not overthink it. You can also use a credit card or a piece of cardboard to scrape paint across the surface for a textured effect. I once used an old spatula from the kitchen. It worked fine.
Another trick is to use a dry brush technique. Dip your brush in paint, then wipe most of it off on a paper towel. Lightly drag it over the surface. The result is a half-transparent streak that looks artistic but requires zero precision. If you hate it, just paint over it and start again. That is the beauty of paint.
Simple Geometric Wall Art with Tape Anyone Can Do
Geometric patterns are popular for a reason: they are clean, modern, and you can get perfect lines with just tape. For this easy DIY, you do not even need to be good at drawing. Just measure and tape.
First, pick your wall space. A small area above a sofa or next to a mirror works well. Apply painter’s tape in straight lines to create triangles, squares, or a herringbone pattern. Press the edges down firmly so paint does not bleed underneath. Then fill in the taped-off sections with your interior painting of choice. Wait for the paint to dry completely before peeling off the tape. If you pull too early, the edges will tear.
One thing I learned the hard way: remove tape at a 45-degree angle away from the painted area. This gives the cleanest line. Also, if your paint bleeds a little, you can touch it up with a small brush and the base color. No one will notice once you step back a few feet.
Ombre Effect Paint Projects for a Soft Gradient Look
Ombre wall art looks complicated but it is really just layering paint from light to dark. You can do this on a canvas, a piece of plywood, or directly on the wall if you are feeling bold. I recommend practicing on a canvas board first because it is cheap and forgiving.
Start with your lightest color at the top. Paint a horizontal strip about six inches wide. Then mix a small amount of your darker color into the light color to create your next shade. Paint the second strip, overlapping the first slightly while the paint is still wet. Blend the seam with a dry brush or a sponge. Repeat this process, adding more dark paint each time, until you reach the bottom. The key is working quickly while the paint is wet so the colors blend smoothly.
If you mess up the blending, do not panic.
#diywallart #interiorpainting #easydiy #walldecor #paintingideas
Leave a Comment