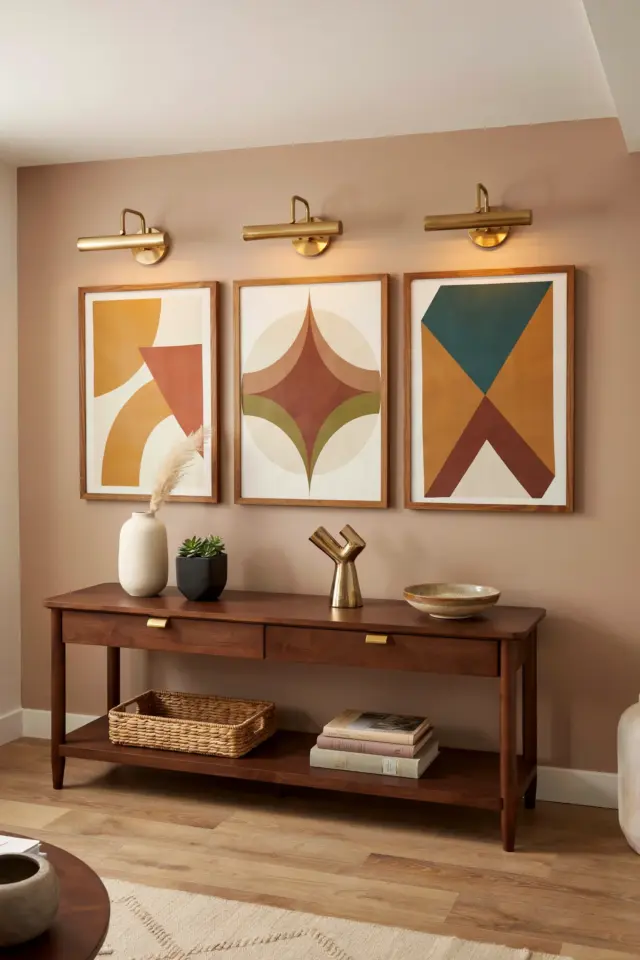
If you have ever walked into a room and felt like the wall was missing something, you are not alone. A blank wall can feel flat and unfinished, especially when you want to show off your favorite memories. That is where photo wall lights come in. They make your framed photos stand out without needing a major renovation. By adding a small picture light above each frame, you turn a simple collection of pictures into a warm, glowing gallery display. This guide is written for complete beginners, so even if you have never drilled a hole or hung a frame, you can create a gallery wall that looks professional and cozy.
Why Start With a Simple Gallery Wall Layout?
Before you buy any lights, you need to decide where your framed photos will go. A gallery wall with lights works best when the layout is planned in advance. I recommend laying your frames on the floor first. Arrange them in a rectangle, a cluster, or a straight line until the spacing feels balanced. This helps you know exactly how many lights you need and where to place them. Think about the center of your arrangement. Usually, the middle frame should sit at eye level, roughly 57 to 60 inches from the floor.
For beginners, a symmetrical grid is the easiest. Take four or six matching frames and space them evenly. Then you can place one picture light above each frame, or one light per two frames if the fixture is wide enough. Symmetry makes the final result look intentional and clean. Do not worry about perfection. A small overlap or gap can be adjusted once the lights are on.
Choosing Picture Lights for Your Framed Photos
Not all picture lights are the same. When you search for the best picture lights for framed photos, you will find three main types: battery operated, plug in, and hardwired. For a beginner DIY project, battery operated lights are the most forgiving. They require no wiring and can be stuck or screwed into the wall. Plug in lights give you a steady power source but need a nearby outlet. Hardwired lights are best left for professional installation.
Here is a quick checklist to help you pick:
- Size: The light should be about half the width of your frame. A 12 inch light works well for an 8×10 photo.
- Color temperature: Look for warm white light (2700K to 3000K). It mimics soft indoor lighting and does not wash out your photos.
- Finish: Black or brass finishes blend with most frames and wall colors.
- Bulb type: LED bulbs last for years and stay cool to the touch, which is safer for framed artwork.
How to Position Picture Lights on the Wall
Once you have your lights, knowing where to place picture lights on a gallery wall can make or break the effect. The general rule is to mount the light centered above the frame, with the bottom of the light sitting 2 to 4 inches above the top edge of the picture. This angle allows the beam to wash downward across the glass or mat without creating harsh shadows. If your light has a directional head, angle it slightly toward the frame.
For a cluster of photos, you might only need one light per group. Place a single light above the entire arrangement, centered and high enough to cover the top rows. Alternatively, you can use individual lights on every frame for a dramatic, museum style look. Test the placement with removable adhesive putty first. That way you can move the light by an inch without damaging the wall.
Battery Operated vs Plug In Photo Lights: Which One Is Right for You?
This is the most common question from beginners. Battery operated vs plug in photo lights each have trade offs. Battery powered lights are incredibly easy. You stick them up, turn them on, and replace batteries every few months. They are perfect if you rent your home or do not want to deal
Leave a Comment