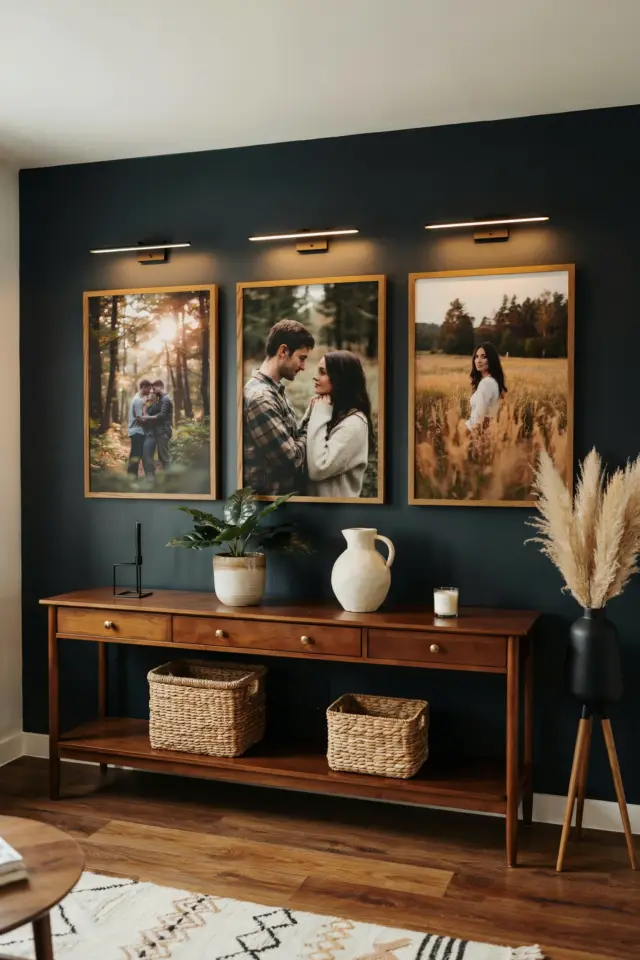
If you have been scrolling through Pinterest looking for a way to make your walls feel warmer without spending a lot or putting holes in the paint, this DIY photo wall lights project is exactly what you need. It combines soft, cozy lighting with your favorite pictures or prints, turning a bare wall into a personal gallery that glows. I built my first set with almost no prior crafting experience, and it took me less than an hour from start to finish. The best part? You can change the photos whenever you want, which makes it perfect for people who love to refresh their space often.
Why Choose DIY Photo Wall Lights for Your Home
Most wall decor either sits flat or requires a big commitment like painting or heavy hardware. Photo wall lights solve both problems by giving you a soft light source that also displays your memories. The light brings attention to your pictures, making even simple black and white prints feel like art. Because you control the placement, you can fill an awkward empty corner or create a focal point above a sofa or bed.
Another reason I love this approach is that it works in rented apartments or dorm rooms. You do not need to drill, hammer, or patch anything. The whole setup uses adhesive hooks or removable clips, which come off cleanly when you move out. It is also a great way to use up those prints you have been storing in a drawer or photos you want to see every day.
What You Need to Build Your Own Photo Wall Lights
Before you start, gather a few basic supplies. Most of them are easy to find at a dollar store, craft shop, or online. Here is the list I recommend for a clean, beginner-friendly setup:
- String lights (battery operated or USB powered, warm white works best for a cozy feel)
- Small wooden or plastic clothespins (mini clothespins or binder clips hold the photos)
- Your prints or photos (4×6 or 5×7 size works well, or cut your own from scrapbook paper)
- Adhesive hooks or removable mounting strips (command strips are a reliable choice)
- Scissors and a tape measure
- Optional: a small piece of twine or wire if you want a separate hanging line for the photos
I like using battery operated fairy lights because they have a thin wire that is easy to hide, and you do not have to worry about finding an outlet near the wall. If you prefer a warmer amber glow, look for lights labeled “warm white” instead of cool white.
Step by Step Guide: Creating Your Photo Wall Lights
Start by deciding where you want the lights to hang. Measure the wall space and cut your string light wire to the right length if needed (some lights come with a fixed length, so plan accordingly). Stick two adhesive hooks on the wall at the height you want your top row of lights. Space them about 12 to 18 inches apart depending on how wide you want the display.
Drape the string light wire between the hooks so it hangs with a gentle curve. If you want multiple rows, repeat the process with additional hooks lower down. Once the lights are in place, use the clothespins to clip your photos onto the wire. You can clip them directly onto the light bulbs themselves if the bulbs are small and plastic, or clip the photo onto the wire next to a bulb. I prefer clipping onto the wire because it is easier to adjust spacing.
Turn on the lights and step back. The warm glow will illuminate the prints from behind or from the side, depending on how you clipped them. Play with the arrangement until it feels balanced. You can overlap a few photos or keep them evenly spaced. The beauty of this project is that you can rearrange any time without damaging anything.
Tips for Arranging Your Prints and Lights
Think about the mood you want to create. For a calm bedroom, stick to black and white photos or soft pastels. For a lively living room, use colorful travel shots or art prints. I like to mix sizes: a few large prints paired with smaller ones add visual interest. You can also add a small piece of dried greenery or a thin ribbon between the clips for extra texture.#diypicwalllights #photowalllights #easylightfixtures #homewallart #budgetdecor
Leave a Comment