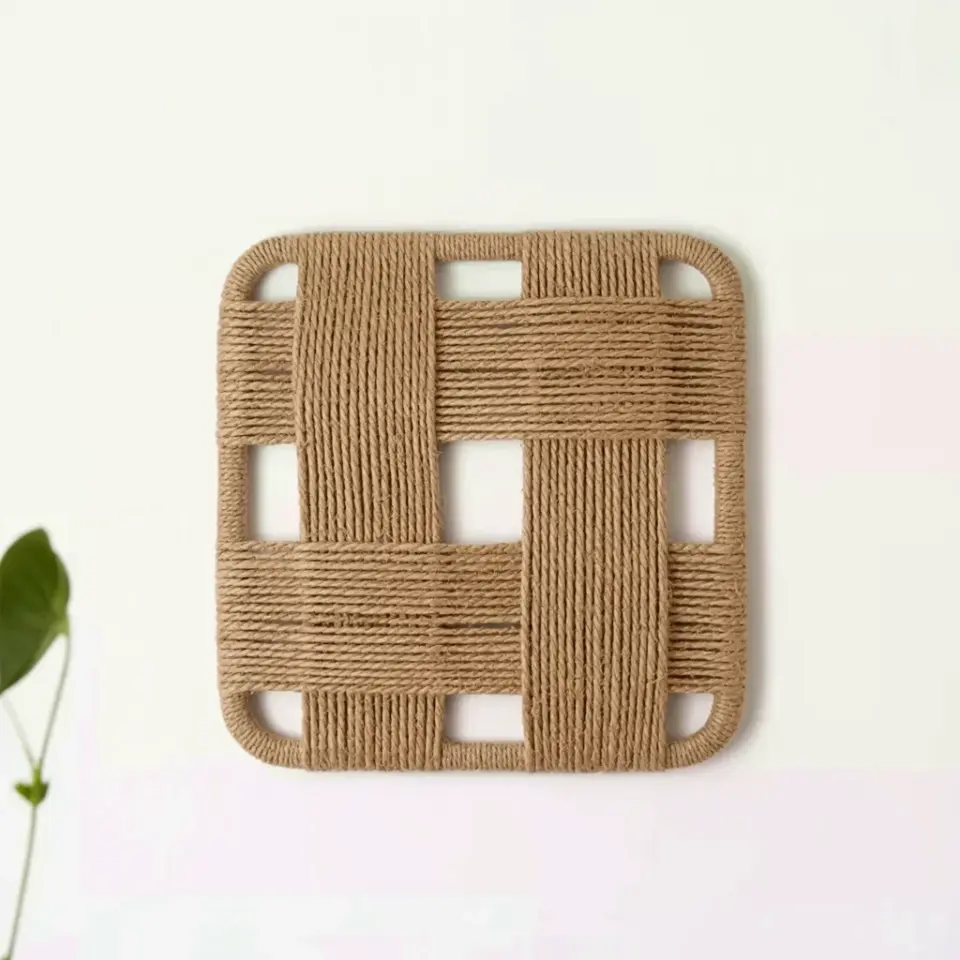
One afternoon, I found myself staring at a large blank wall in my living room, and it felt unfinished. That’s when I decided to try DIY yarn wall art, and it turned out to be much simpler than I ever expected. I had zero experience with knotting or fiber crafts, but within an hour I had a beautiful, handmade piece that made the whole room feel warm and personal. If you’ve been scrolling through Pinterest looking at boho wall hangings and thinking you could never make one, let me show you how wrong that thought is.
What you need to start your first yarn wall hanging
Before you begin, gather a few basic items. The beauty of this project is that you probably already own most of them, or you can find them cheaply at a craft store. A wooden dowel about 12 to 18 inches long is your base, and any thickness works as long as it feels sturdy. You’ll also need cotton rope for the main body, plus leftover yarn in whatever colors you love. I used neutral tones like cream, beige, and soft grey, but you can go bright or muted.
Here is the full list of supplies I used:
- One wooden dowel (a branch or driftwood also works)
- Cotton rope (about 50 to 80 feet, depending on how full you want the hanging)
- Yarn in two or three complementary colors
- A pair of sharp scissors
- A small piece of string or twine for hanging
- Optional: washi tape to mark the dowel evenly
That’s it. No looms, no needles, no special tools. Just knots and a little patience, as promised.
Preparing your dowel and cutting rope without measuring stress
Most beginners panic about cutting rope to the right length. Relax, because precise measuring is not required. Drape the rope over the dowel and let it fall naturally. For a first piece, cut about 12 ropes that are each 5 feet long. If you want a fuller look, cut 16 or 20 ropes. The key is to keep them all around the same length, but they don’t have to be perfect.
To tie the rope to the dowel, use a simple lark’s head knot. Fold one rope in half, place the loop over the dowel, then pull the two loose ends through the loop. Pull tight, and you have a secure knot. Repeat this all the way across. Leave a small gap between each rope, about half the width of the rope, so the hanging looks airy and textured.
I found it helpful to tape the dowel to the edge of a table so it didn’t roll around. Once all your ropes are on, slide them gently to make the spacing even. You can also mix in a few shorter ropes for a layered effect later.
A beginner’s knotting method that always looks neat
The classic square knot is your best friend for this project. Place two adjacent ropes together, left and right. Take the left rope, cross it over the right, then bring it under and through. Now do the reverse: take the right rope over the left, under, and through. Pull snug, and you have a flat, tidy square knot. Repeat this row by row to create a simple grid pattern.
For the first row, tie each pair of ropes together, leaving about two inches below the dowel. In the second row, stagger the knots by pairing one rope from the first pair with one rope from the next. This creates a diamond lattice that looks wonderfully complex but is actually very forgiving. If you make a mistake, just untie and try again. Cotton rope is very forgiving, and you can redo a knot in seconds.
After two or three rows of knots, you can stop and trim the bottom into a straight line, a diagonal, or a gentle zigzag. I gave mine a slight V shape by trimming the center ropes a bit longer than the sides. The result looks intentional and polished, even though it took only a few snips.
How to avoid the common mistakes first-timers make
One mistake beginners often make is pulling the knots too tight. If you yank every knot hard, the piece turns stiff and loses its soft, organic feel. Pull until the rope sits snugly, but leave a little bounce so the hanging can move and drape nicely. The whole point of yarn wall art is that handmade, relaxed look, not a rigid structure.
Another issue is cutting all the ropes exactly the same length. That sounds logical, but a straight edge can look a bit blocky. Instead, cut them slightly uneven, or trim the final piece into a curve. This adds movement and hides any small mistakes. Also, don’t forget to hang the dowel with a secure knot on each end. I used a simple piece of twine tied in a loop, and I positioned it about two inches from each side so the weight balanced evenly.
A third mistake is overthinking the design. You don’t need a complicated pattern to make something lovely. A few rows of square knots plus some dangling yarn ends can look exactly like a high-end piece from a boutique. Trust the process and keep it simple.
Styling your piece on a blank wall for a designer look
Once your yarn wall art is done, decide where it will shine. A blank wall above a sofa, a small space near a reading chair, or even next to a mirror all work well. The key is to give the piece some breathing room. Don’t crowd it with other decor, let the texture and colors stand out. Neutral yarn blends with almost any color palette, which is why I love using leftover tones.
For a more curated look, hang your art at eye level or slightly lower. Since the bottom edge is the most interesting part, make sure it’s fully visible. If you have a low shelf, you can even lean the dowel against the wall and let the yarn cascade down. That’s a great no-hole option for renters. I also added a couple of small framed prints beside my hanging, and the combination felt perfectly balanced without being busy.
Lighting matters too. A gentle light from the side will cast soft shadows through the yarn, adding depth. Try a small floor lamp or a wall sconce near your piece. This simple trick makes the handmade texture look even more inviting.
Making a bigger statement with multiple yarn hangings
If you have a large blank wall, one hanging might feel a little lost. The good news is that creating a set of smaller yarn wall art pieces is just as easy, and it can make a bold impact. Make two or three hangings in different lengths, maybe using slightly different color families or dowel thicknesses. Then arrange them in a staggered cluster, with one higher and one lower, for a playful gallery effect.
Another option is to make one long hanging by using a longer dowel, like 36 inches. The same knotting technique works perfectly. Just cut more ropes, or space them a bit further apart. I tried hanging a 36-inch piece in my dining room, and it immediately softened a corner that used to feel stark. The project took about 90 minutes, still a quick weekend win.
Don’t be afraid to mix materials. You can add a few strands of chunky wool, some linen thread, or even small wooden beads. Just slide a bead onto a rope before tying your knot. The beads catch the light and give your work a unique signature. This is where your own style comes through, so experiment freely.
Making your own yarn wall art is honestly one of the most satisfying DIY projects I’ve tried. It’s forgiving, affordable, and perfect for a beginner who wants immediate results without a big learning curve. You get to say “I made that” every time you walk past it, and the cozy handcrafted vibe is something a store-bought print just can’t match. So grab a dowel and some leftover yarn, pick an hour this weekend, and see what you can create. I promise the process is as relaxing as the outcome is beautiful.
Leave a Comment