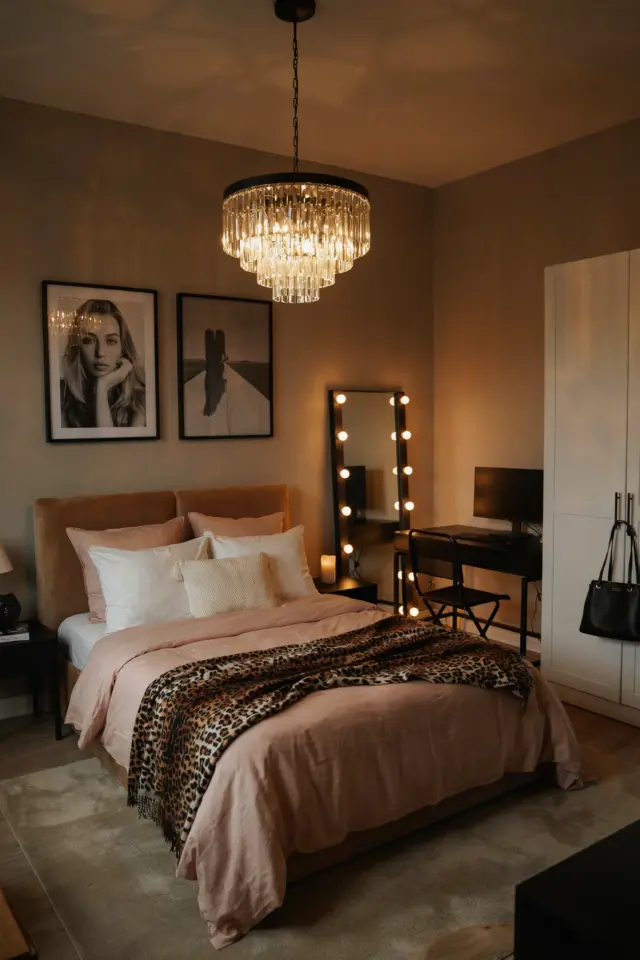
Bare walls can make any room feel unfinished, but buying real art is expensive. I’ve been there, staring at blank spaces and wondering how to fill them without spending hundreds. The solution? DIY wall art. It sounds intimidating if you have zero crafting experience, but trust me, it is the easiest way to get custom-looking decor on a tight budget. With a few framed print ideas and basic supplies, you can create pieces that look like they came from a boutique home store. This guide walks you through every step, assuming you have never done anything like this before.
How to Choose Affordable Frames for Your DIY Wall Art
Frames can cost more than the art itself if you are not careful. Stop buying new at full price. Thrift stores and garage sales are gold mines for frames. Look for solid wood or metal frames that have simple shapes. You can spray paint them any color for a few dollars.
Another trick: buy a multi-pack of identical frames from a discount store. They often come in sets of three or four for less than twenty bucks. That gives you a cohesive look without hunting for matching frames. I personally love the cheap IKEA frames because the glass is easy to remove and the backs snap on tight. Avoid ornate, gold-plated frames if you want a modern feel. Stick with black, white, or natural wood.
Where to Find Free or Cheap Printable Art
You do not need to be a painter or photographer. The internet is full of high-resolution images you can download and print. Sites like Unsplash, Pexels, and Pixabay have thousands of free photos under open licenses. Search for terms like “abstract watercolor” or “minimalist line art.” Download the largest file size for the best print quality.
If you want something more curated, Etsy sellers offer digital downloads for a few dollars. You get a PDF or JPEG file that you can print at home or at a local print shop. A single purchase often includes multiple sizes (like 8×10, 11×14, and 16×20). That is a huge value because you can change your art with the seasons. I have bought sets for under five dollars and printed them at a copy center for less than a dollar each.
Simple Steps to Assemble Your Framed Print Like a Pro
Printing and framing sound easy, but small mistakes stand out. Follow these steps to avoid crooked edges and wrinkled paper.
- Measure the frame’s mat opening. Most frames have a cardboard mat. Remove it and measure the exact rectangle where your print will show. Write that size down.
- Trim your print to that size. Use a sharp craft knife and a straight edge. A paper cutter is even easier if you have access to one. Cut a quarter inch smaller than the opening to allow for slight movement.
- Use acid-free tape. Regular tape can discolor your print over time. Use artist’s tape or washi tape on the back of the print to attach it to the mat or backing board.
- Insert everything carefully. Place the print face down, then the mat, then the glass. Make sure no dust or hair is trapped. Use compressed air or a microfiber cloth to clean the glass before closing the back.
That is it. You now have a professional-looking framed print that cost you very little. The first time I did this, I accidentally cut the print too small. I just trimmed the mat to match and it worked fine. Do not stress over perfection.
Leave a Comment