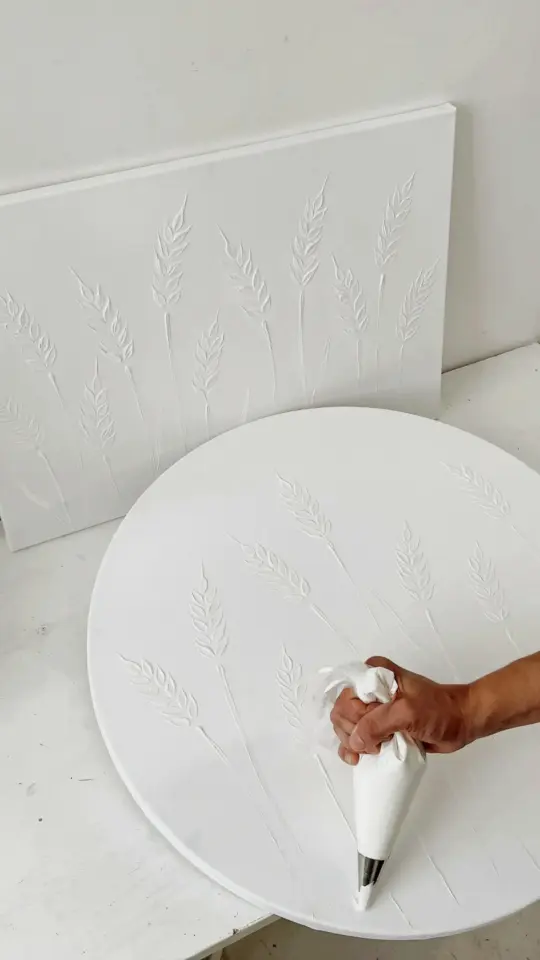
Blank walls are a decorating problem nobody warns you about. You move in, hang one sad frame, and suddenly the rest of the space feels like it’s shouting at you. These DIY wall art ideas fix that without forcing you to drop two hundred dollars on a generic print from a big box store.
I made this geometric canvas with painters tape and leftover paint, and honestly, it was easier than assembling IKEA furniture. The whole project took me a few hours on a Sunday afternoon, and the best part is that it’s completely custom. Pick your colors, pick your pattern, and you end up with something that actually looks like it belongs in your house. No art degree required, I promise.
Here’s the thing though, you do need to press the tape down well for crisp edges. I learned that the hard way when my first attempt looked like a five year old discovered watercolors. But once you know the trick, it’s smooth sailing. Let me walk you through the process and a few variations so you can make one that fits your space.
## Gather Your Supplies Without Going Overboard
The beauty of this budgetcraft project is that you probably already own most of what you need. For my canvas, I used a 16×20 inch canvas from the art supply store, but any size works. Honestly, the bigger the canvas, the more dramatic the statement on a large blank wall.
Here’s what you’ll need:
– A canvas (any size, but bigger makes a bigger impact)
– Painters tape (the blue stuff, don’t cheap out on this)
– Acrylic paint in at least two colors plus white for mixing
– A couple of decent brushes or a small foam roller
– A flat surface to work on that you don’t mind getting paint on
I used leftover paint from other projects, which kept the cost basically zero. The paint had been sitting in my closet for months, and honestly, it worked fine. You don’t need fancy artist grade paint for this, craft store acrylic is perfect.
## Pick a Color Palette That Feels Current
I’m a big fan of the warm neutral trend that’s been everywhere in home decor lately. Think terracotta, cream, sage green, and soft beige. These colors look expensive even when the paint cost you four dollars at a garage sale. The whole point of walldecor is making your space feel intentional, and the right palette does all the heavy lifting.
For my canvas, I went with a warm terracotta base and cream geometric shapes on top. It’s the exact color scheme that’s been popping up in trendy coffee shops and boutique hotels, but here, it costs almost nothing. Another option that’s trending hard right now is the high contrast look with black, white, and one bold accent color like mustard yellow or burnt orange.
If you’re feeling brave, try a monochromatic palette. Pick one color and use two or three shades of it. This creates a more subtle, sophisticated look that’s incredibly trendy but also timeless. The key is making sure your colors have enough contrast that the geometric shapes actually read as shapes, not just one big blob of paint.
## The Cheap Tape Trick Nobody Mentions
Okay, here’s the real secret to making geometric canvas art that looks professional. After you apply your painters tape, spend five minutes pressing it down with a credit card or your fingernail. This seals the edges so paint can’t bleed underneath. I skipped this step once and got jagged, messy lines that made me want to toss the whole canvas in the trash.
Another trick I wish I knew earlier, paint a thin layer of your base color over the tape edges before you paint your actual shapes. This seals the tape even better. Let it dry completely, then paint your actual color on top. It sounds counterproductive, but trust me, it works. Your final lines will be sharp enough to cut yourself on.
One more thing about the tape. If you’re doing a really thin stripe or a small accent shape, cut your tape with an exacto knife instead of tearing it. Ragged tape edges create ragged paint lines. I didn’t think it mattered until I tried it both ways, and now I’m a believer.
## Grab Your Brushes and Start Painting
Once your tape is down and pressed firmly, it’s time to paint. Use a foam roller if you have one because it gives a smoother finish than a brush. If you only have brushes, that’s fine, just try not to paint too thickly. Multiple thin coats beat one gloppy, lumpy coat every time.
Start with the lighter color first, especially if you’re doing the base layer separately. I painted my whole canvas terracotta first and let it dry overnight. That’s the boring part, waiting for paint to dry, but it’s worth it. The next day, I layered on my tape pattern and painted the cream shapes on top.
A note on timing, acrylic paint dries fast, especially if you live somewhere dry. You can usually add a second coat within fifteen to thirty minutes. Don’t rush it though. If you try to pull the tape off while the paint is still wet, you’ll drag paint everywhere and ruin the whole look. I know this because I did exactly that in my early days of canvasart making.
## Make Quick Work of the Wobbly Line Problem
Does your hand shake a little when you get close to the canvas? Mine does. But you don’t need a steady hand for this project because the tape does all the hard work. Just make sure your lines are straight when you apply the tape, and the paint will follow their lead.
If you’re struggling to get crisp paint lines, here’s another shameless trick. Use a straight edge and a pencil to lightly mark where you want your tape to go before you stick it down. It takes an extra couple of minutes, but it saves you from crooked lines and lopsided designs. Your future self will thank you.
I put my geometric pattern in the shape of intersecting arcs and floating rectangles, which sounds fancy but was really just me playing with tape strips until I liked how they looked. Don’t overthink the design. Sometimes the randomness looks better than a perfectly planned pattern anyway.
## Styling Your New Canvas With the Rest of the Room
Now that your masterpiece is dry and the tape has been carefully peeled away, it’s time to figure out where this thing lives. Your new canvas is a statement piece, so give it some breathing room. Lean it on a shelf instead of hanging it, that casual leaning look is still going strong.
I put mine in the hallway, the blank wall that was bugging me forever. It instantly gave that boring passage some personality without needing to fill the whole wall with clutter. You could also group two or three canvases together for a bigger DIY wall art ideas moment, but make sure each one has a slightly different pattern or color scheme.
If this is your first canvasart project, don’t stop here. Once you get the technique down, you’ll be looking around your house for more blank walls to fill. And since the whole project costs next to nothing, you can experiment with different patterns and color combos all you want.
Give it a shot this weekend. Grab some tape, grab some leftover paint, and see what you come up with. Then tag me in your creation, I’d love to see what colors you pick. Enjoy the process, the mess, and even the little imperfections that make it feel handmade and totally yours.
Leave a Comment