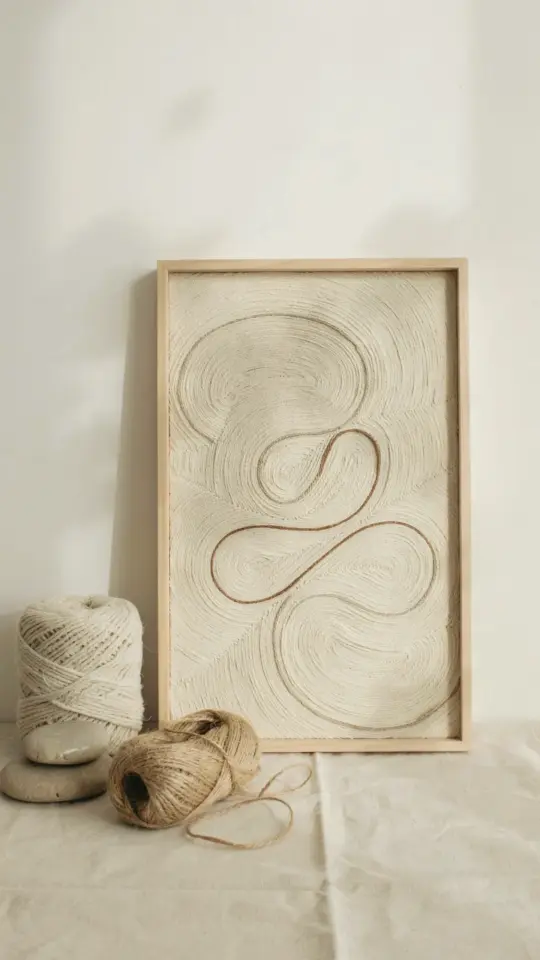
There is something deeply satisfying about spending an afternoon making something with your hands, especially when it ends up on your wall. This DIY wall art project happened on a rainy Sunday when I was tired of staring at a blank corner above my favorite reading chair. A single continuous line drawing of two people, done on warm cream paper and tucked into a black frame, turned out to be the coziest thing in our living room.
The best part? I have zero formal art training. If you have been scrolling through Pinterest looking at minimalist line art with prices that make you wince, I get it. Those prints are gorgeous, but they cost more than a nice dinner. This easy wall decor project costs about eight dollars in supplies and takes maybe an hour of your time, most of which is spent waiting for paint to dry.
Pick the perfect spot for your reading nook wall decor
Before you draw anything, figure out where this piece will live. A reading nook should feel like a hug, and the art above it needs to match that energy. I plopped mine right at eye level, about six inches above the back of a worn velvet chair. You want the art to be visible while you are sitting, not just when you are standing.
Take a photo of the wall with your phone and stare at it for a minute. Is the space narrow and tall? Wide and squat? This changes the size of your frame and the proportions of your drawing. My corner was small and intimate, so I used an 11×14 frame. A bigger wall might want a 16×20.
Also, think about lighting. A reading nook usually has a lamp or a window nearby. Warm light makes cream paper look softer and more inviting. Cool overhead light makes it feel clinical. No pressure, but honestly, the whole vibe depends on this one choice.
Gather the surprisingly short supply list
Here is the thing about minimalist line art: the supplies list is laughably short. You do not need an art store haul. You probably have most of this in a junk drawer already.
- A piece of paper. Warm toned, not bright white. I used a sheet of cream cardstock from a craft store.
- A fine tip black pen. The Micron 01 is my personal favorite, but any permanent marker with a thin point works.
- A pencil and an eraser for sketching the rough shape (yes, sketching is allowed).
- A black frame with a mat or without one. I found a simple one at a thrift store.
- A flat surface that you are okay with getting pen on.
That is genuinely it. No paintbrushes, no palettes, no fancy easel. The total cost for me was around seven dollars because I already had the pen and paper from another abandoned project. Ask me how many half-finished projects I have in my closet sometime.
How to draw minimalist line art even if you cannot draw
Ok so the secret that nobody tells you is that continuous line drawing is more about looking than drawing. You are going to trace the idea of two people in your mind and let your pen follow along slowly. I started with a light pencil sketch of two simple busts, one leaning slightly into the other, like they are sharing a secret or a quiet moment.
Once the sketch looks right, take your pen and start from the top of one head. Do not lift the pen until you are done. The line will wobble and cross over itself, and that imperfection is exactly what makes it look like intentional art. My first attempt made one of the figures look like they had a third eye. I just started over on a new sheet of paper.
The key technique is to move your elbow and shoulder, not your wrist. Wrist movement makes tight, jittery lines. Shoulder movement makes loose, smooth curves. I read that on a pottery blog once and it applies to this too. Go slow. Pretend you are signing your name in the air.
Embrace the weirdness of a continuous line
There is one moment in every line art project where you think you ruined it. For me, it was when the pen line looped around the neck and accidentally created a strange spiral that looked like a scarf. I almost scraped the whole thing. Then my partner walked by and said it looked like a fashionable turtleneck, and honestly, they were right.
Here is the thing about continuous line art, the mistakes become the personality. A perfect drawing looks like a machine made it. A drawing with a weird loop or an unexpected bump looks like a human sat down and experienced a tiny moment of time. That is the whole point of cozy home decor. It should feel lived in.
If your line goes somewhere you did not plan, just lean into it. Make the curve into a shoulder. Turn the swoop into hair. The image needs to read as two people, but they can be abstract in all sorts of ways. Mine ended up with one figure whose profile is a little too sharp, and I have grown to love it.
Easy wall decor trick, frame it before you preview it
Do not judge your drawing while it is lying flat on the table. I made this mistake and almost threw my work in the trash. A line drawing on a table looks like a doodle. The same drawing inside a black frame, on a wall, looks like a deliberate choice. The frame changes everything.
I picked a simple black frame with a wide mat. The mat creates breathing room and makes the small drawing feel more gallery like. If you do not have a mat, just use a frame that fits the paper snugly. Before you hang it, stand back a few feet and let your eyes adjust. You will see the composition differently.
Honestly, you could also add a tiny bit of shading with a pencil if the faces feel too empty, but I left mine clean. The starkness is what makes it work. The frame is not just protection. It is the signal to your brain that this is finished art and not scribbled nonsense.
Hang it at the right height and call it done
Here is a mildly annoying detail about me: I hang almost everything too high and then I have to redo it. The rule of thumb is that the center of the frame should be at eye level, roughly 57 inches from the floor. But for a reading nook, you can fudge that down by a couple inches since you will usually be seated.
Use a small nail or a Command strip if you are renting. I have put too many holes in walls over the years, so now I use the sticky strips for anything under five pounds. This frame weighs almost nothing. The whole project took me less than an hour, including the time I spent digging through a drawer looking for the measuring tape.
Set it slightly off center from the chair if you like a more casual look. Perfectly centered above a chair can feel a bit stiff. A slight offset mimics the way people actually arrange things when they live in a space.
Keep it simple and make it your own
Look, you do not need to be an artist to make this. You just need a quiet hour, a steady hand, and the willingness to accept that your line will not look like the one on Instagram. That is okay. The people in your drawing will look like the memories of the people in your life, which is somehow more beautiful anyway.
Try changing the paper color if cream is not your vibe. A soft blush pink or a pale sage green changes the personality of the piece entirely. I have also seen versions of this concept done with a pen in a single color like a muted terracotta or a deep navy blue, and they look equally striking on the wall.
The warm paper and black ink combination remains my favorite though. It matches the lamp light in our nook and makes the space feel like a tiny library nook. For the cost of a coffee and a little patience, you can have something that feels completely original.
Hang it crooked on purpose or perfectly level, whatever your heart desires. This is your nook. Make the art reflect the peace you are trying to create there. Now go draw two little people and claim that wall space. You will be glad you did.
Leave a Comment