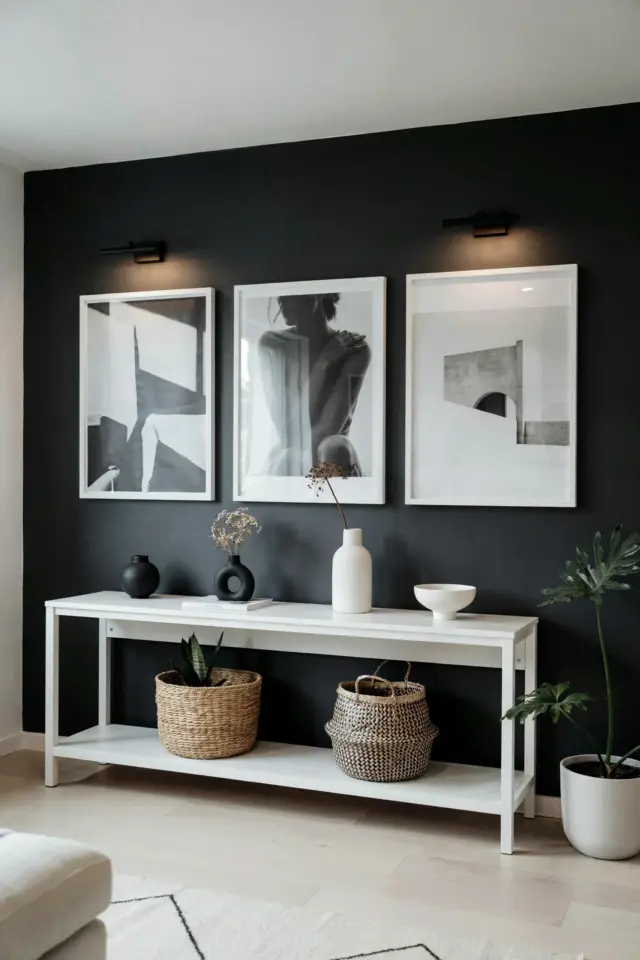
Look, I love a good gallery wall. I spent hours arranging my framed prints, getting the spacing just right, obsessing over the matting. But at night? They just vanished into the darkness. That’s when I finally caved and tried installing photo-wall-lights above them. And honestly, using the battery-powered kind was such a game changer. No electrician, no punching holes in the ceiling, no ugly cords dangling down. It took me a Saturday afternoon, and the effect is incredible (in a very specific, not-filler way). Let me walk you through exactly how I did it.
Why Battery-Powered Options Beat Hardwired Fixtures
I am not an electrician. I don’t own a voltage tester, and I’m frankly terrified of accidentally drilling into a live wire. So the idea of hardwiring sconces above every single frame felt impossible. That’s why battery wall sconces without wiring are the obvious winner here.
The technology is actually good now. We aren’t talking about those flickering, weak lights from ten years ago. Modern battery puck lights use LEDs that last for months on a set of AAs or a rechargeable pack. This was genuinely the easiest DIY wall art project I have done in years.
Here is what you actually gain by going cordless:
- Complete flexibility. You can move your art around without needing to call a contractor or patch drywall.
- Zero damage to your walls beyond a small adhesive strip.
- Instant gratification. I literally had the first light up and running in about four minutes.
- Renters can finally have a moody, lit gallery wall without losing their security deposit. Huge win.
Puck Lights vs Clip-On Lights for Framed Art
Ok so when I was shopping for these, I got completely overwhelmed by the options. But really, it comes down to two distinct categories. First, you have the battery puck lights. These are round, flat discs that either stick to the wall above your print or sit on a tiny shelf. They cast a wider, softer wash of light. I use these for my larger 11×14 prints because they light up the whole frame evenly without hotspots.
Then you have the clip-on lights. These clamp directly onto the top edge of the frame itself. They are much more directional and create a very dramatic spotlight effect. I use a clip-on for one small, very dark charcoal drawing I have. A weird thing I noticed: clip-ons can sometimes leave a tiny mark on the top of your frame if you tighten them too much. Maybe that’s just me being clumsy with the hardware. But puck lights are generally safer for delicate or vintage frames you care about.
Getting the Angle and Height Right on Your Gallery Wall
This is where the magic happens, or where it completely falls apart. You cannot just stick the light anywhere. I made this mistake on my first attempt, and it just looked like I was trying to illuminate a moth. The sweet spot is 6 to 12 inches above the top of the frame. If you go higher, the light becomes too diffuse and loses its punch. If you go lower, it creates a weird shadow across the top of the mat.
For the angle, point the light slightly downward. Specifically around a 30 degree tilt. You aren’t trying to shine a laser at the image. You want the light to wash gently across the surface. And here is a very specific gallery wall tip: if your print is behind glass, be mindful of that tilt. I had one light creating a horrible glare because I had it tilted too far forward. I had to scoot it an inch to the left and flatten the angle by a few degrees to fix it. Annoying, but totally fixable.
How to Stick Battery Puck Lights Without Damaging Paint
Let’s talk about adhesives. Most battery puck lights come with either screws (which you probably won’t use) or heavy-duty 3M adhesive strips. Do not just peel the sticker and slap it on the wall. You will regret this. The paint might peel when you eventually take it down.
Instead, use command picture hanging strips. They are designed to hold weight and come off cleanly. I stick the command strip to the light, then attach the light to the wall. That way, the adhesive that touches my drywall is the “safe” kind. One time I forgot to clean the wall first. The light fell off at 2 am and scared my cat. Just a quick wipe with a microfiber cloth and some rubbing alcohol will do the trick. Trust me on this one, it takes thirty seconds.
Leave a Comment