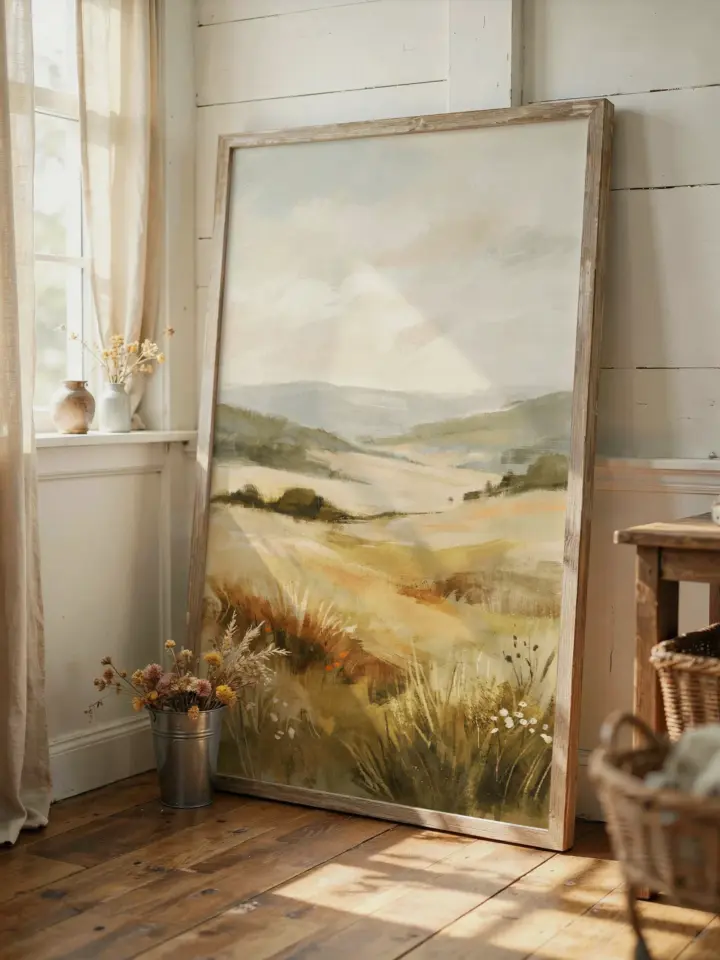
Why Framed Prints Are the Easiest Winter Wall Refresh
Honestly, I have been obsessed with winter framed print DIY ideas all season. Not gonna lie, it started because I was broke after Christmas shopping. I literally just printed some free winter illustrations from a random Pinterest board and popped them in thrifted frames. That is it. That is the whole magic trick. Ok, maybe not magic, but it is the simplest way to get cozy wall art on a budget. And you do not need a design degree or any special tools. Just a printer, paper, and frames that look like they have a story.
Here is the thing: store-bought Christmas wall art costs a fortune for something you will store away in January. But a DIY framed print? You can leave it up through February if you pick a subtle winter scene (snowy trees, bare branches, a quiet cabin). I once kept a pinecone print up until March. No regrets. The snow was melting outside anyway.
How to Find Free Winter Printables That Actually Look Good
Look, you can google “free winter printable” and get a million results. But most of them are pixelated junk or weirdly religious? Not that religious is bad, but not what I want for a modern cozy vibe. I stick to a few trusted sources: design blogs that offer high-res downloads, public domain archives like the NYPL Digital Collections, and artists on Etsy who give away free versions (they want you to buy the full bundle, totally fine).
My secret trick: search for “vintage winter botanical illustrations” or “Scandinavian winter landscape line art.” Those tend to print beautifully even on standard copy paper because they rely on simple shapes. And here is a weird little aside: I always download the PDF version if available, because JPGs sometimes get a weird yellow tint when printed. I learned that the hard way on a frame I swore was ivory.
- For quick results: search “free printable winter gnome” (they are everywhere) or “free printable holiday greenery.”
- For something subtle: try “winter bird illustrations” or “bare tree silhouette.”
- For total freebies: public domain art sites like RawPixel or the British Library flickr account.
- Pro move: use a graphic design app (Canva, free) to add your own text like “Let it Snow” or a date. Makes it feel custom.
One more tip: always check the image resolution by zooming to 100%. If it looks fuzzy on screen, it will look fuzzy in a frame.
Choosing Thrifted Frames Without Overthinking It
I have a mild obsession with thrift store frames. Not gonna lie, I have a pile in my basement that I “will use someday.” For this project, you need frames that are not too scratched or moldy. But honestly, a little wear adds character. I found a gold ornate frame once with a dead spider inside the glass. I kept the spider. For luck. (Ok, I removed it after a week because my partner complained, but the point stands: do not be afraid of imperfection.)
When you are thrifting, look for frames that are the same size for a uniform gallery wall, or mix sizes for a relaxed eclectic look. The key is to check the backing and the glass. Sometimes the glass is permanently stained, but you can replace it with a cheap piece from a hardware store. Or just skip the glass entirely if the print is thick paper. I have done that. It looks matte and modern.
If the frame has a weird color (neon orange, say) you can spray paint it matte black, dark green, or a warm white. That is a whole other project though. For immediate results, stick with neutral tones: dark wood, black, silver, or natural wood. They blend with any winter decor.
Printing and Prepping Your Artwork for a Professional Finish
Ok so you have your images and frames. Now it is time to print. Do not just hit print on a standard paper. That is fine for a kids craft, but for a framed print you want a thicker feel. Use cardstock, not regular printer paper. Cardstock is sturdier and does not curl at the edges. You can buy a pack at any drugstore for like six bucks.
Set your printer to “high quality” or “photo” mode if you have that option. It uses more ink but the colors will be richer. And here is a specific detail: if your image has a lot of white space, set the print to “borderless” if your printer supports it. Otherwise you get those ugly white margins. I have a cheap HP printer that refuses to do borderless on standard paper, so I trim the edges with a paper cutter. That works too.
After printing, give the ink a minute to dry. Then fold the paper a little (gently) to soften it so it lays flat inside the frame. Or iron the paper on low heat (no steam) if it is really curled. I promise this extra five minutes changes everything.
Arranging a Gallery Wall That Feels Intentional (Not Haphazard)
Now comes the fun part: putting your framed prints on the wall. Do not just hammer nails randomly. Please. I have done that. It looked like a murder scene of frames. Instead, lay the frames on the floor in front of the wall and try different arrangements. Start with the largest frame in the center or slightly off-center, then cluster smaller frames around it. Keep a consistent spacing of two to three inches between frames.
For a winter Christmas vibe, mix your new winter prints with a few existing pieces. Maybe a small mirror, a dried wreath, or a macrame wall hanging. The texture breaks up the paper and adds depth. I have a tiny ceramic bird on a shelf right below my gallery, and it ties the winter theme together because birds are wintery. You do not need a bird, but you get the idea.
If you are renting and cannot drill, use command strips made for picture frames. They hold surprisingly well. Just make sure the wall is clean and you press for thirty seconds. I once ignored the instructions and a frame fell at 2 AM. Scared the cat. Do not be me.
Styling Your Framed Prints with Other Cozy Christmas Decor
Framed prints do not exist in a vacuum. They look best when surrounded by other cozy elements. Add a string of warm fairy lights along the top of the gallery, or drape a little garland of fake pine across the corner of the largest frame. Not too much though. You want the prints to stand out, not hide behind branches.
I like to put a small stack of books on a nearby shelf, with a candle and a mug. That way the whole corner feels like a reading nook. And the framed prints become part of the atmosphere, not just wall filler. Also, low winter light in the afternoon makes the whole thing glow. Honestly, I sometimes just sit on the floor and stare at my wall. It is my form of meditation.
One more thing: consider swapping out the prints after the holidays. Keep the same frames, just slide in a spring botanical in March. That is the real genius of this DIY: one set of frames, endless seasonal updates.
Common Mistakes to Avoid (I Made Them So You Do Not Have To)
Look, I am not a pro. I have messed up plenty. So here are the things I wish someone had told me. First, do not use glossy photo paper for winter prints. The glare kills the cozy vibe. Matte paper or cardstock is way better. Second, do not try to hang a gallery wall using a level and a tape measure for hours. Just eyeball it. As long as it is within a quarter inch, nobody will notice except you. I spent two hours adjusting a single frame once. My partner still makes fun of me.
Third, do not forget to clean the glass before you put the print in. Smudges show up way more after you backlight it. And fourth, if you are using multiple prints, avoid repeating the same color palette five times. Mix a warm-toned print (red berries) with a cool-toned one (blue snow). The contrast makes each print pop. That is it. Keep it simple.
Final Thoughts and a Small Nudge to Get Started
Winter framed print DIY ideas really are the easiest way to make your home feel festive without spending a ton or stressing over complicated crafts. One afternoon, a thrift store run, and a free download can transform a blank wall into a personal gallery. It is calm. It is cozy. It is yours.
So grab some paper, find a print you love, and give it a try. And when you do, tag me in your post. I genuinely want to see what you come up with. Nothing makes me happier than a wall full of thrifted frames and winter leaves.
#diywallart #winterdecor #framedprintideas #christmascraft #cozyhome
Leave a Comment